For anyone hanging shelves or art who needs the solid wood behind drywall so the fasteners hold.
A wall stud is the vertical wood beam that frames your wall. You locate it by sound, simple measure from a fixed point, and a shallow nail test so screws bite into real wood.
Have a tape measure, pencil, small finish nail, and hammer ready. This is the no-tools knock-and-measure method; a stud finder works too if you already own one.
Step 01
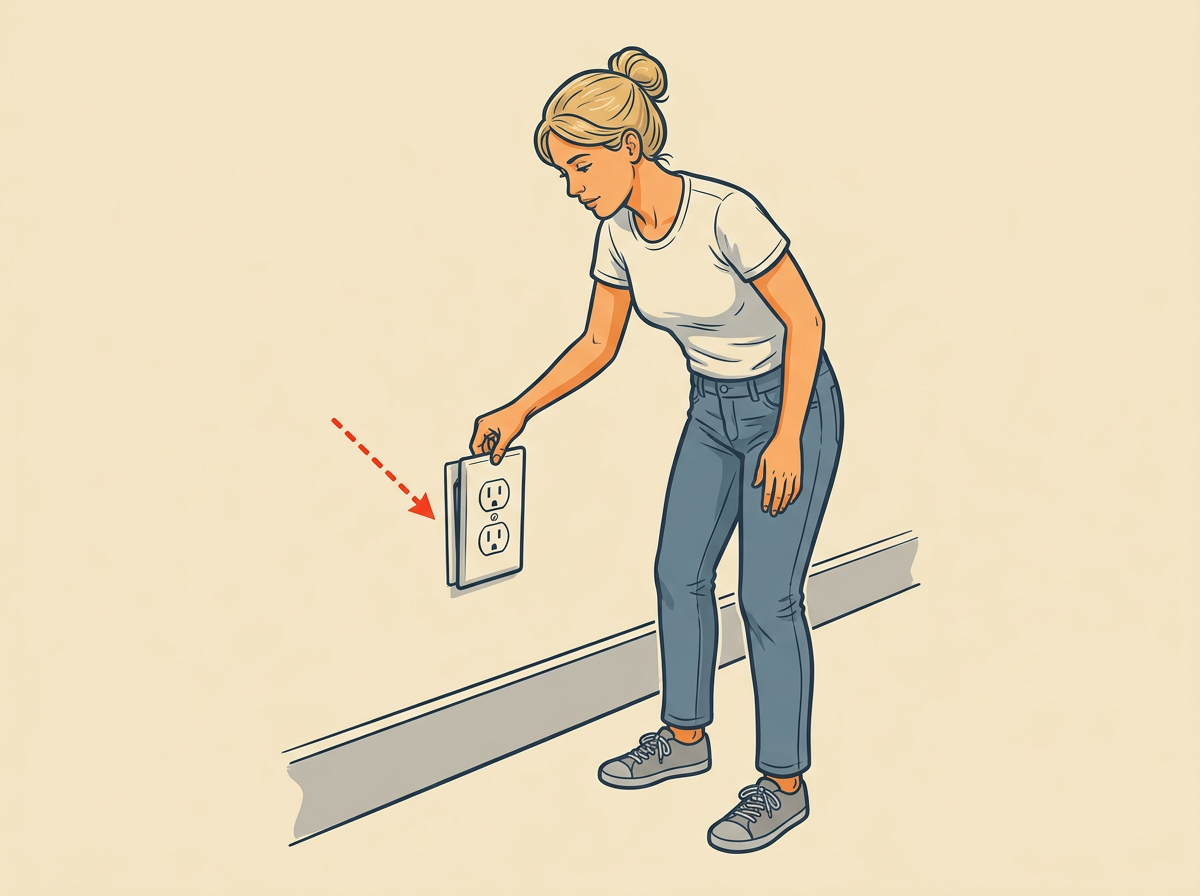
START at an outlet or switch plate and gently wiggle it.
The side that does not move is the stud side because the box is nailed there. Mark that edge with your pencil. Feel both sides so the fixed one is obvious.
Step 02
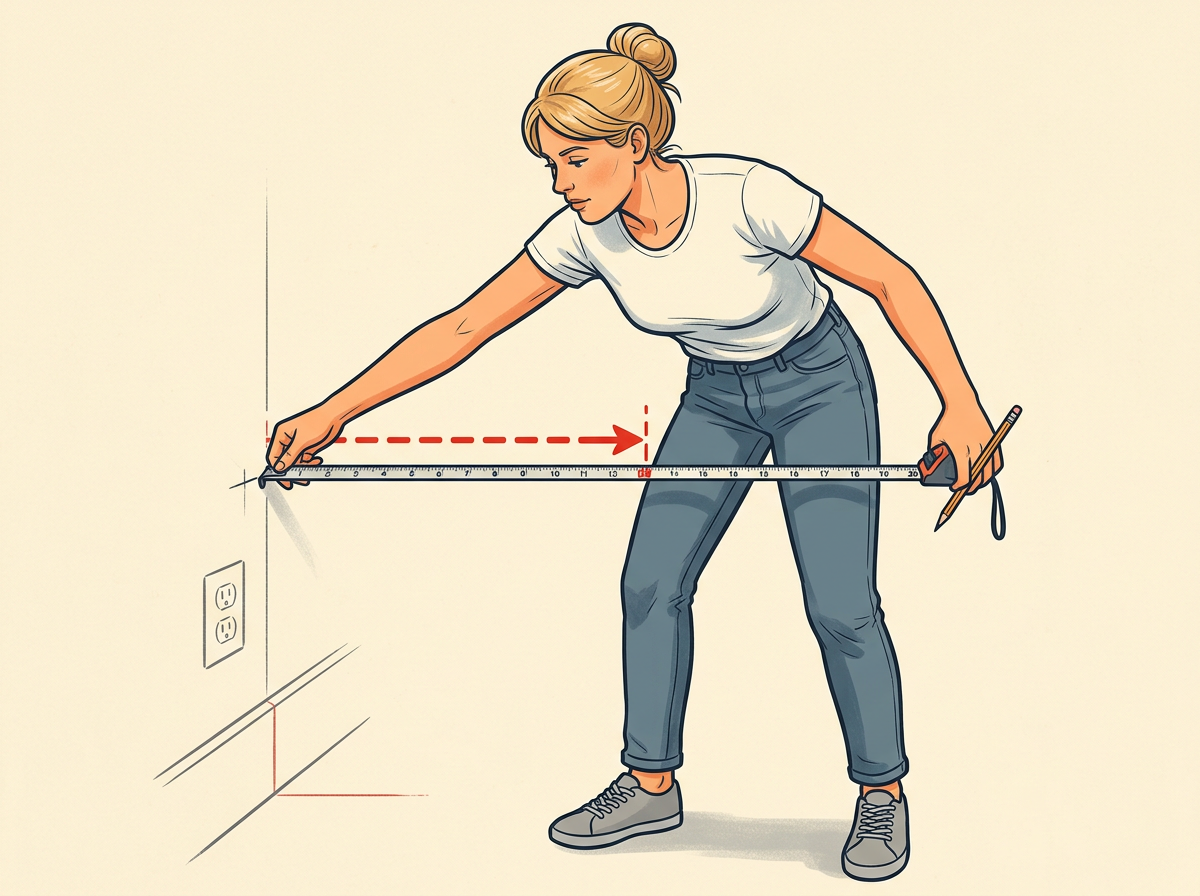
MEASURE sixteen inches from the stud-side mark along the wall.
Studs usually sit sixteen inches apart center to center. Make a light pencil tick at that distance. If your first mark was an edge, shift three-quarters of an inch toward the open wall for the true center.
Step 03
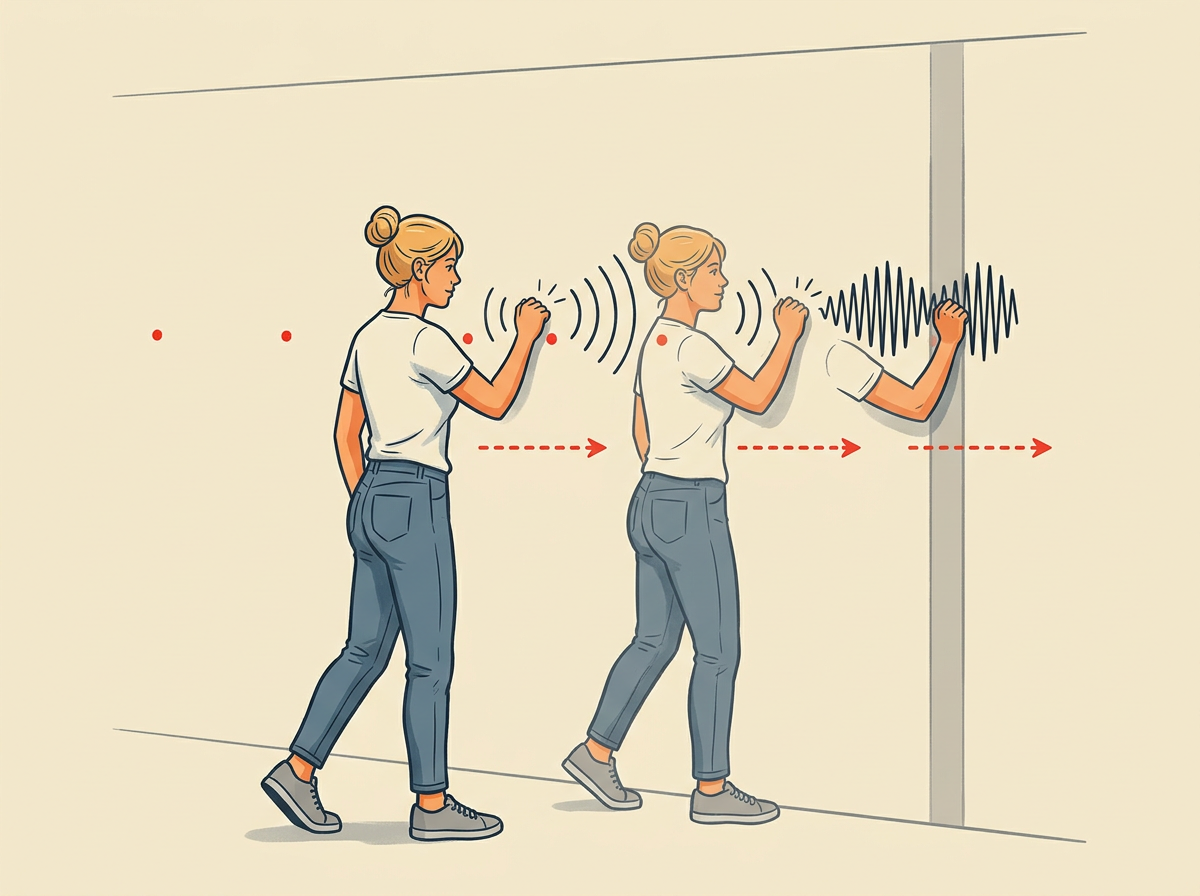
KNOCK along the wall with your knuckles in steady taps.
A sharp empty sound means hollow drywall. A short dull thud means solid wood underneath. Tap every inch or two and pencil a mark on every thud.
The most common mistake
The single riskiest moment is skipping the nail test and driving a heavy screw into a hollow mark. Always sink the finish nail first so you feel the wood before you hang anything.
Pro tip
Once you confirm one stud, keep measuring sixteen inches on center for the rest: so if this stud center sits at 14 inches from the corner, check 30 and 46 inches next.
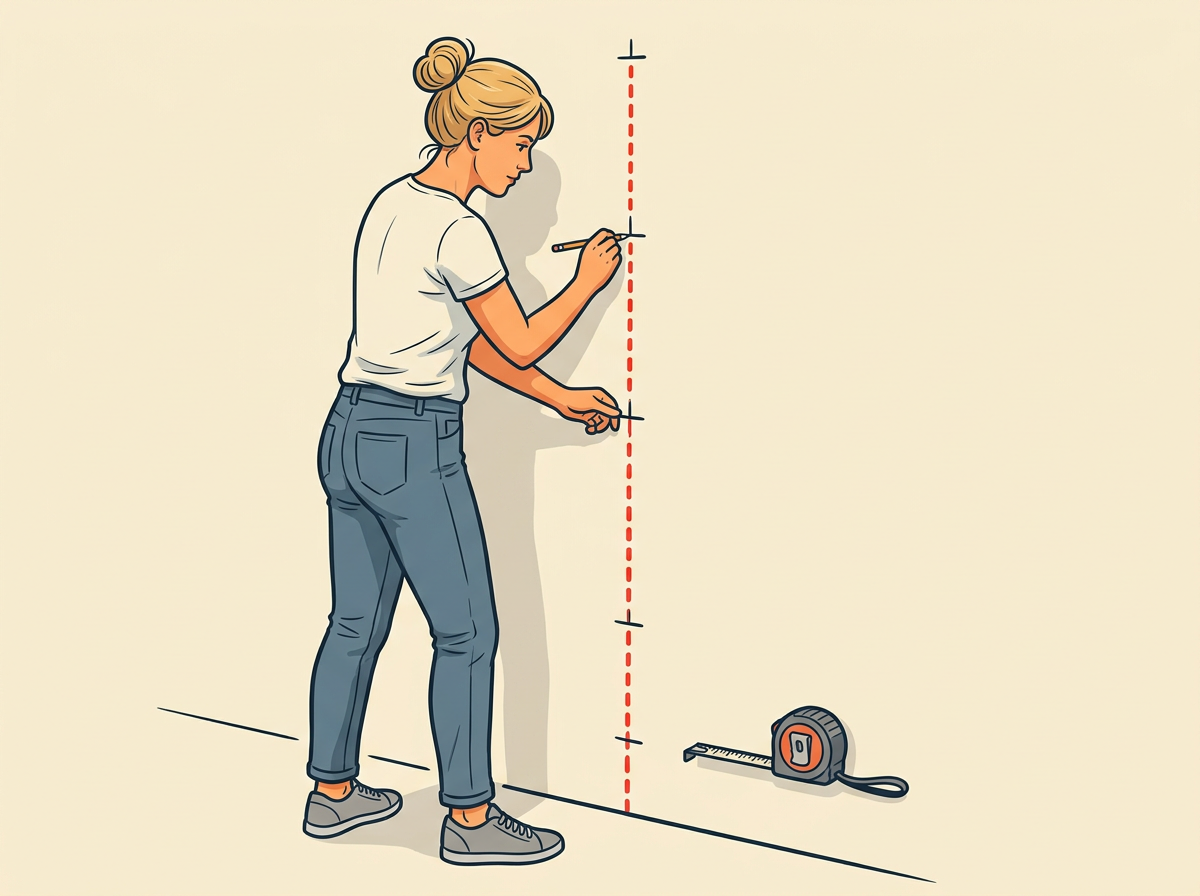
These ticks show the stud’s vertical line. Step back and check they stack straight up and down. Add one more mark higher or lower if any tick feels uncertain.
Step 05
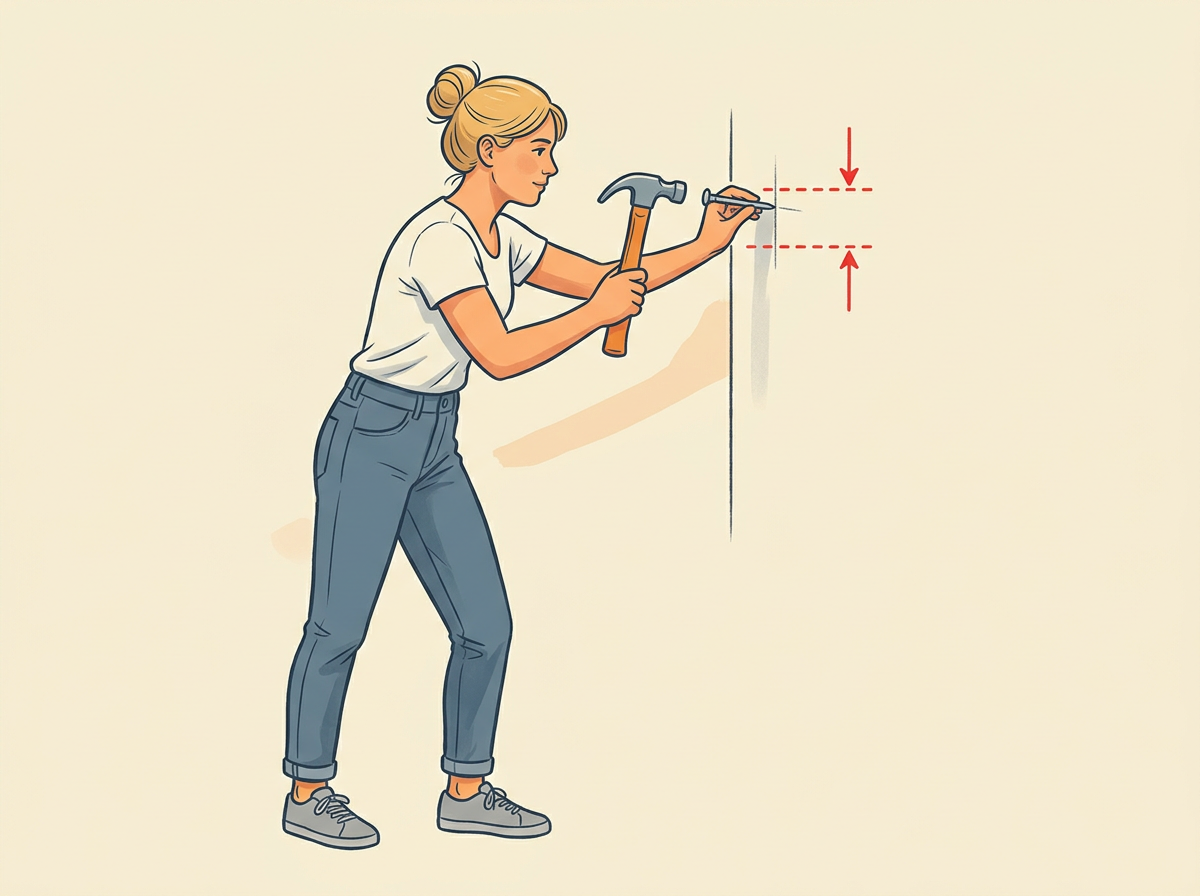
DRIVE a small finish nail into the mark no deeper than half an inch.
Drywall gives way in the first half inch; hard resistance before that means you hit the stud. If the nail sinks freely past half an inch, pull it and try half an inch left or right. Tap gently so you can remove it clean later.




 How To5 steps