



How to change a flat tire without rolling or dropping the car
By How To (/journals/how-to)
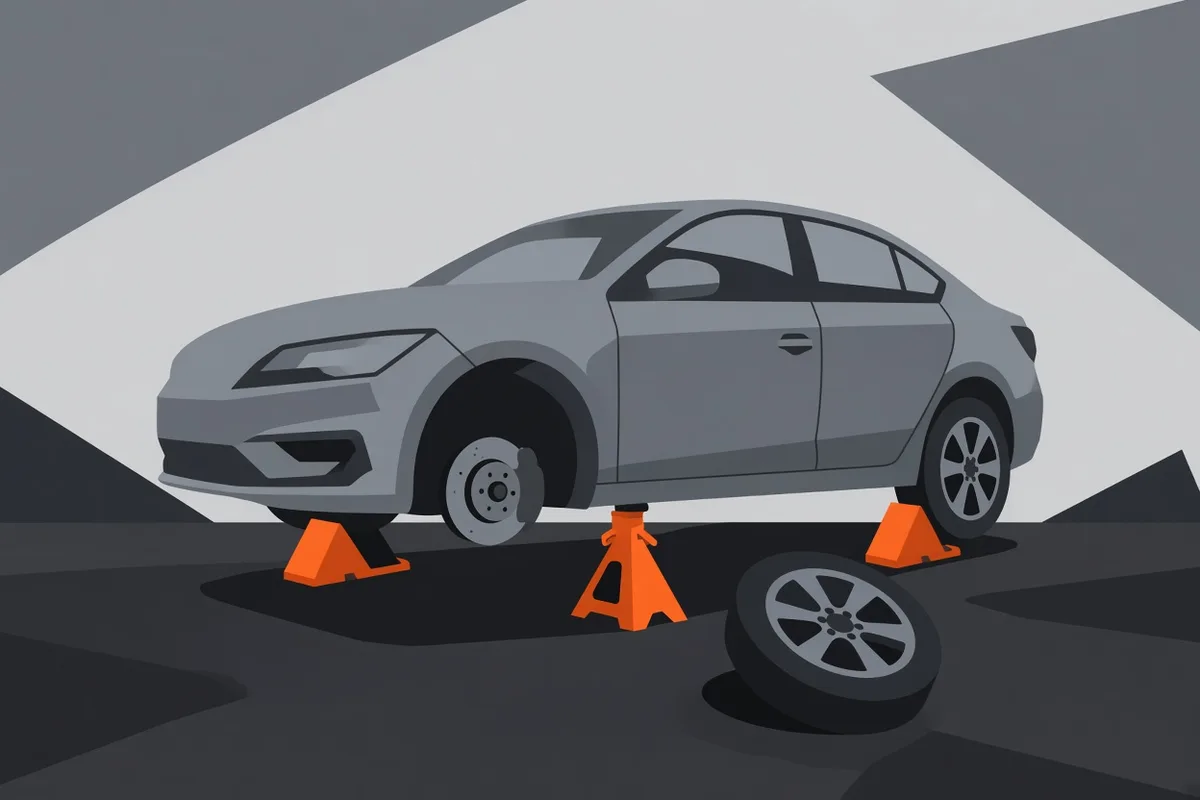
Every step keeps the car from rolling or dropping while a wheel is off. That locked-in stability is what lets you finish without injury or damage.
Have ready a usable spare, the car jack, a lug wrench that fits, and wheel chocks or sturdy blocks. Check your owner's manual for the exact lift points—they vary by vehicle. Say the cue as you go: chock, crack, lift, swap, lower, snug.
1: PULL well clear of the travel lane onto the firmest level ground you can reach: switch on the hazard lights.
Shift into park or first gear and set the parking brake fully. Leave several car-lengths of buffer from traffic when the shoulder allows it. You are set when the car sits still with lights flashing and the brake holding.
2: CHOCK the tires that stay on the ground: wedge blocks snug against the treads at the opposite end from the flat.
A front flat gets rear chocks; a rear flat gets front chocks. Shove each block until it will not slide under a firm push. The car should not rock when you lean on a fender.
3: LOOSEN every lug nut about one half turn while the flat still bears weight: seat the wrench fully and press down with steady body weight.
Work in a star pattern—always the nut opposite the one you just moved, never consecutive nuts around the rim. Leave the nuts on the studs. A stuck nut often yields to a longer bar or firm foot pressure on the handle while both feet stay planted.
4: SET the jack squarely under the factory lift point nearest the flat: the metal pad must sit fully on the jack saddle.
Lift points are the reinforced spots shown in your manual—locations vary. Raise the jack by hand until it just kisses the metal and stands straight. Wrong placement can bend sheet metal or let the car slip later.
5: RAISE the car slowly until the flat tire spins free about two inches above the pavement: keep the jack vertical the whole time.
Keep head and hands out from under the vehicle. Stop the moment the tire turns freely. If the jack tilts or the car shifts, lower fully and reposition before raising again.
6: REMOVE the lug nuts the rest of the way and slide the flat tire straight off the studs toward you.
Keep the nuts together in a pocket or lid so none roll away. A stuck wheel usually frees with a gentle side-to-side wiggle. Set the flat on its face so it cannot roll.
7: MOUNT the spare onto the exposed studs: line up the holes, push it flush to the hub, and spin each nut on by hand.
Valve stem faces outward. Hand-tight means every nut turns until the wheel cannot rattle. The seat is right when the rim lies flat against the hub with no visible gap.
8: LOWER the jack until the spare carries the full weight of the car and the jack pulls free.
Tighten the nuts hard in the same star pattern—full body weight on the wrench until each stops turning. You're done when the spare sits centered and load-bearing, all nuts feel equally solid, tools and flat are stowed, and nothing rattles when you shake the wheel.
The most common mistake
Most people spin the lug nuts all the way off before the car is jacked, so the wheel can drop or the car can shift. Crack each nut only a half turn on the ground; finish removal only after the tire is clear of the pavement.
Pro tip
After twenty to fifty miles on the spare, stop in a safe spot and retighten the lug nuts—they often settle and need one more firm pass.
Say it every time
Chock, crack, lift, swap, lower, snug