




How to sharpen a kitchen knife
Home cooks who want cleaner cuts and safer prep get a reliable edge; cue set-hold-draw-flip-lighten-rinse as you work.
IJR · Sep 26, 2026 · 2 min read
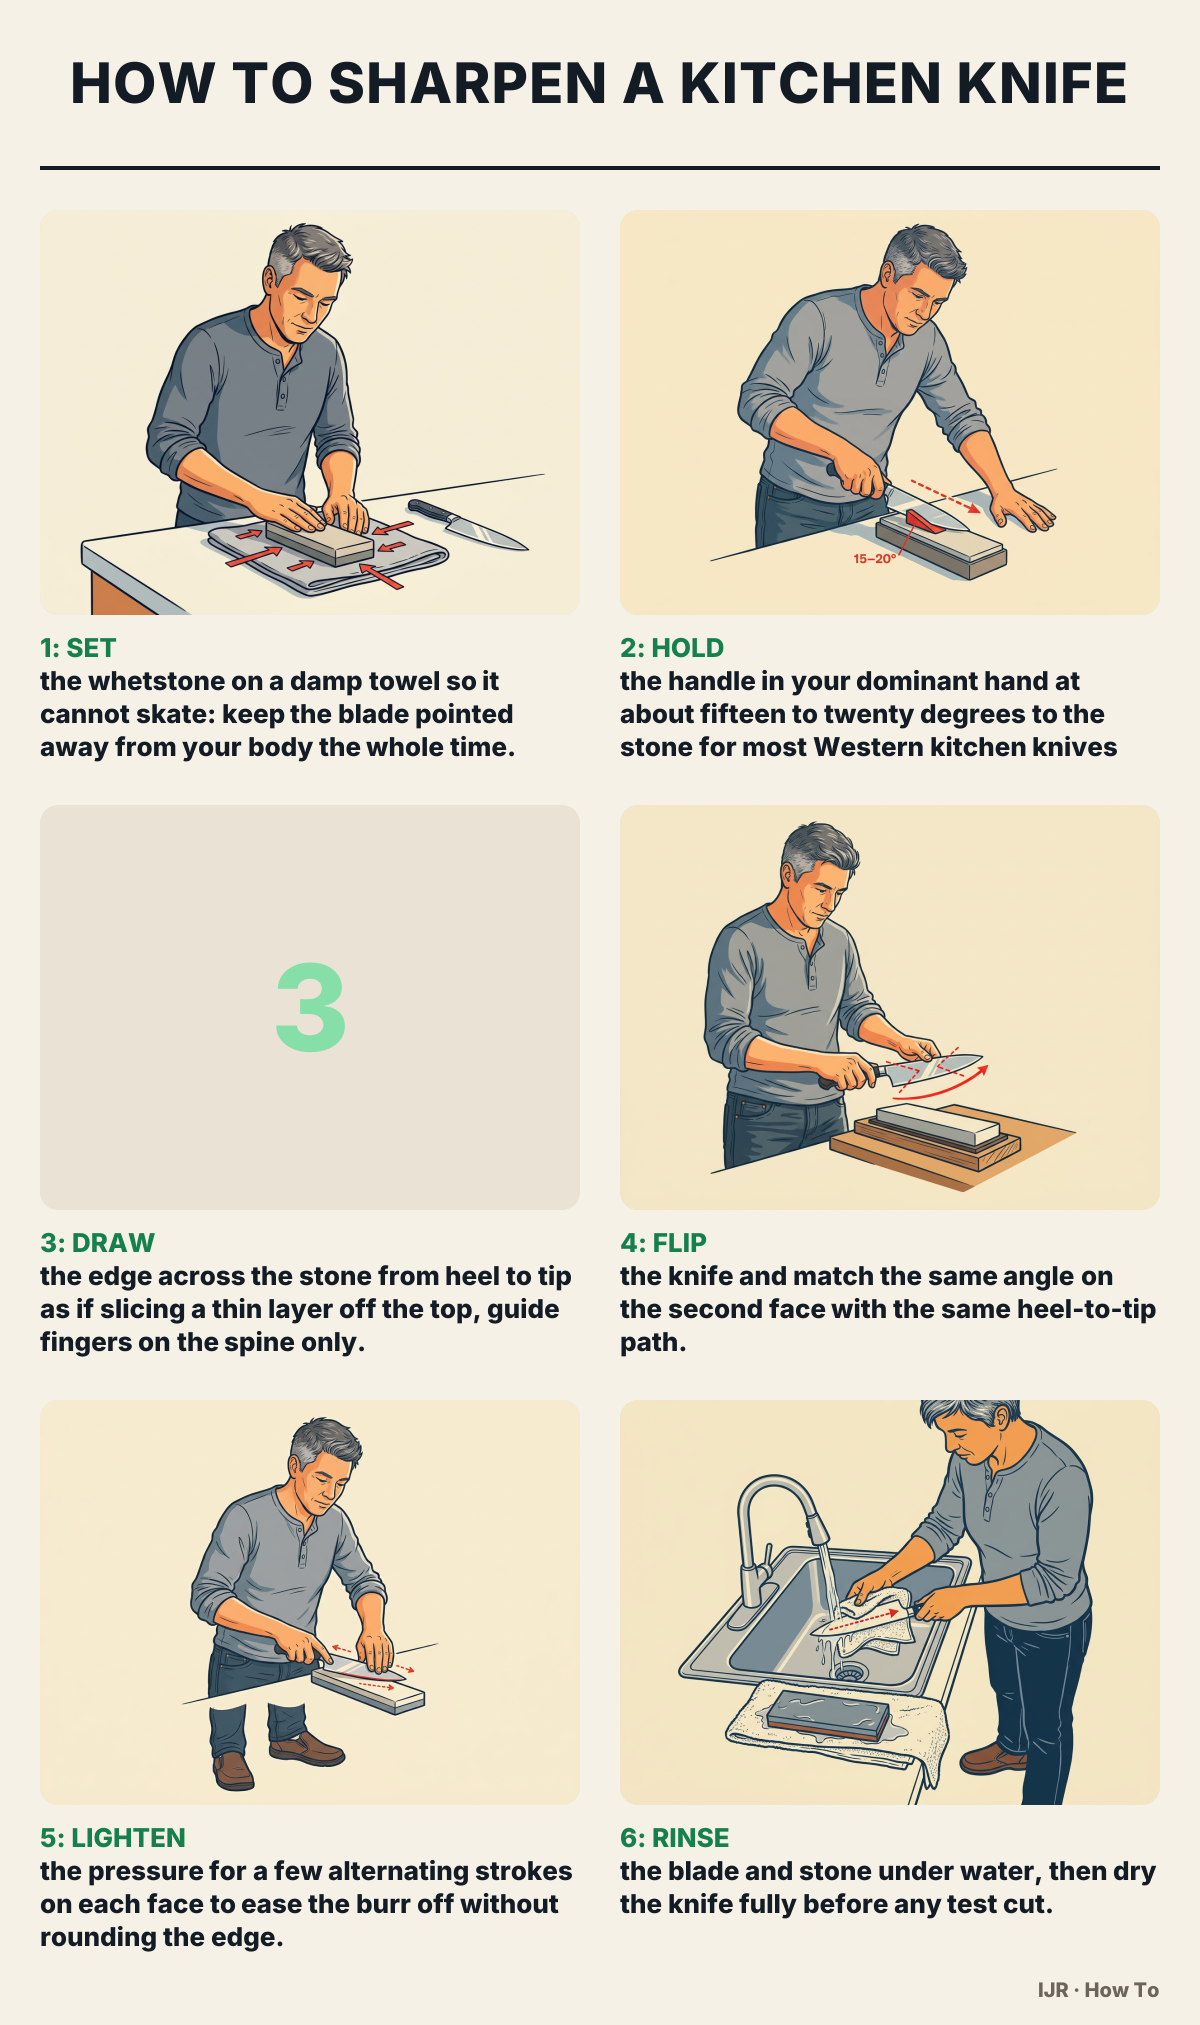
A sharp edge forms when you abrade both faces of the blade at one steady angle. Keep that angle and the knife bites food with less push and less chance of slipping.
Gather: a whetstone (medium grit near 1000 is common practice; finer grits vary by kit), water or the oil your stone needs, a towel for grip, and clear counter space.
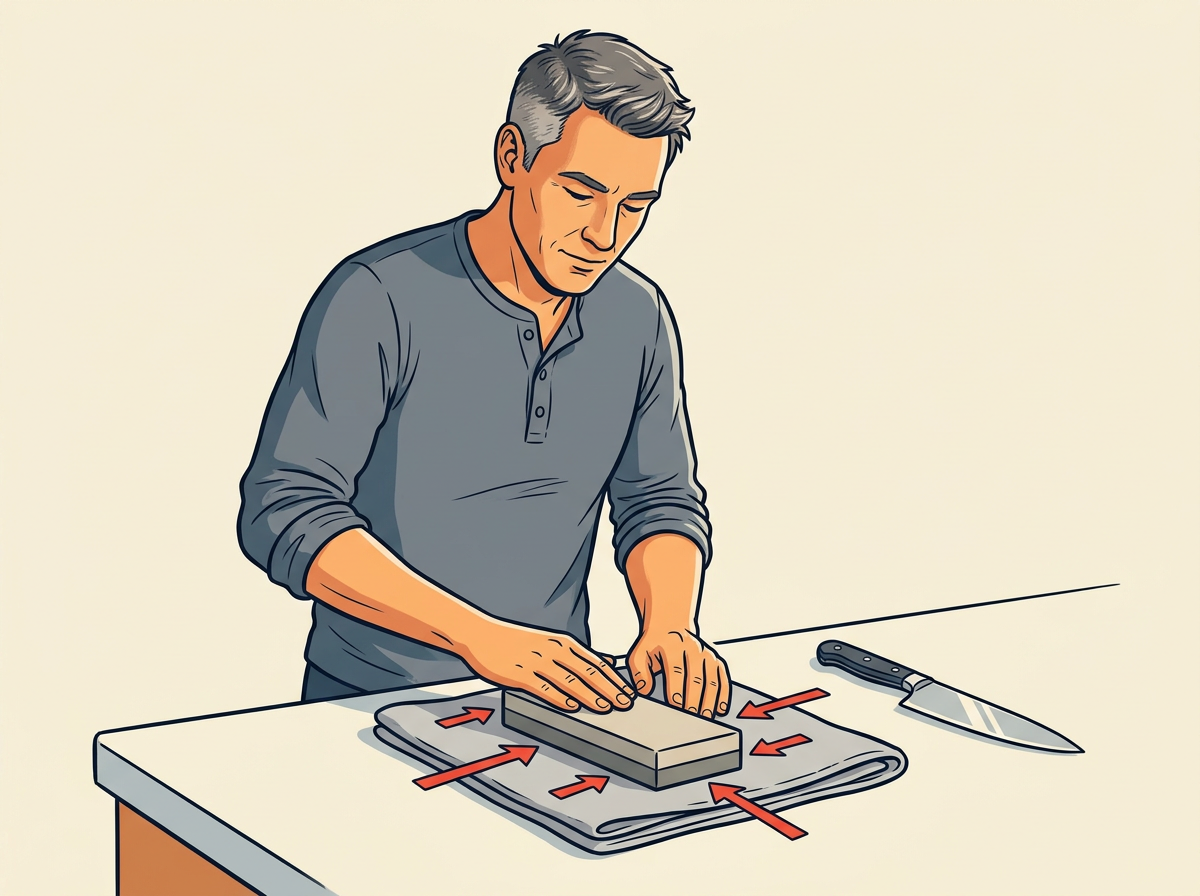
Press the stone lightly with your palm. If it stays put, the base is ready; if it creeps, fold the towel thicker under both ends.
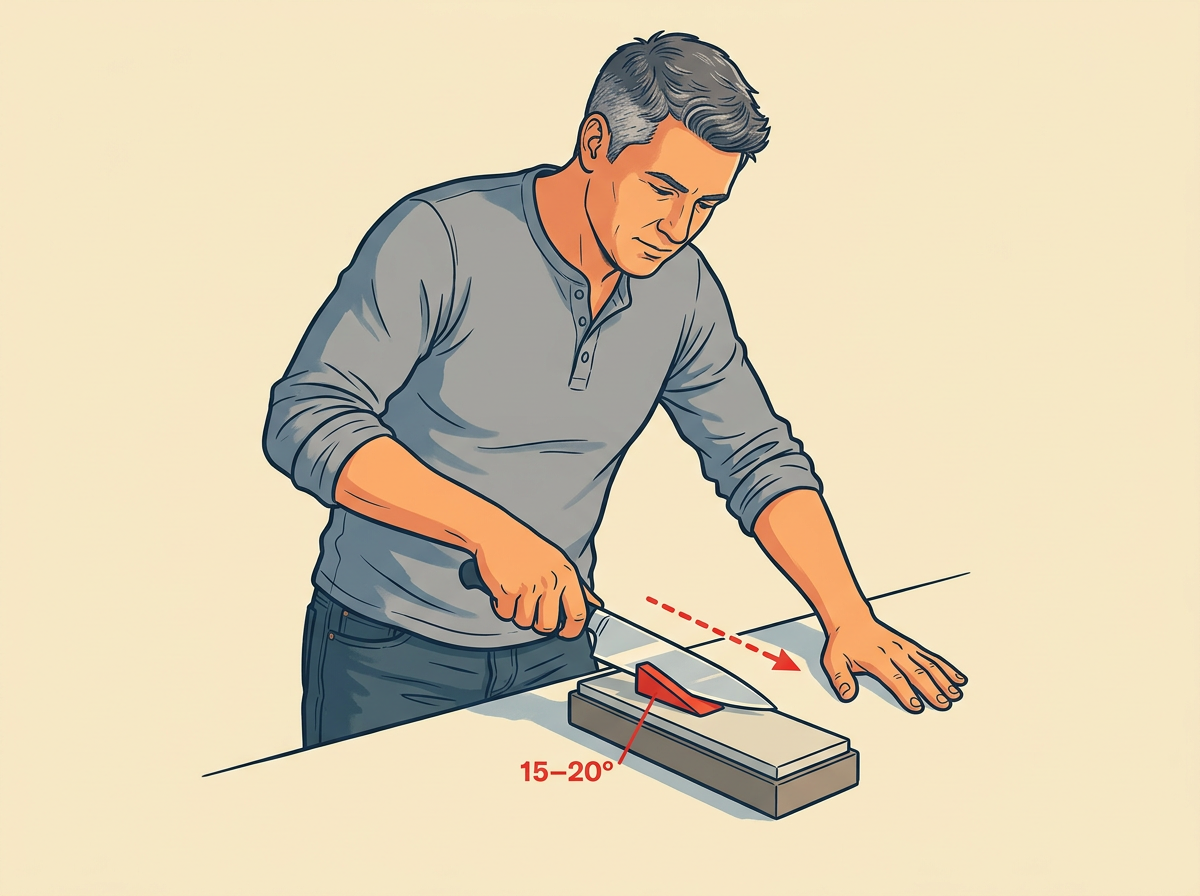
Raise the spine about half a finger above the stone at the heel. When that gap looks even from heel to tip, the angle is locked.
Count eight to ten light passes on this face. A thin wire burr should start to catch when you wipe a fingertip away from the edge—never toward it.
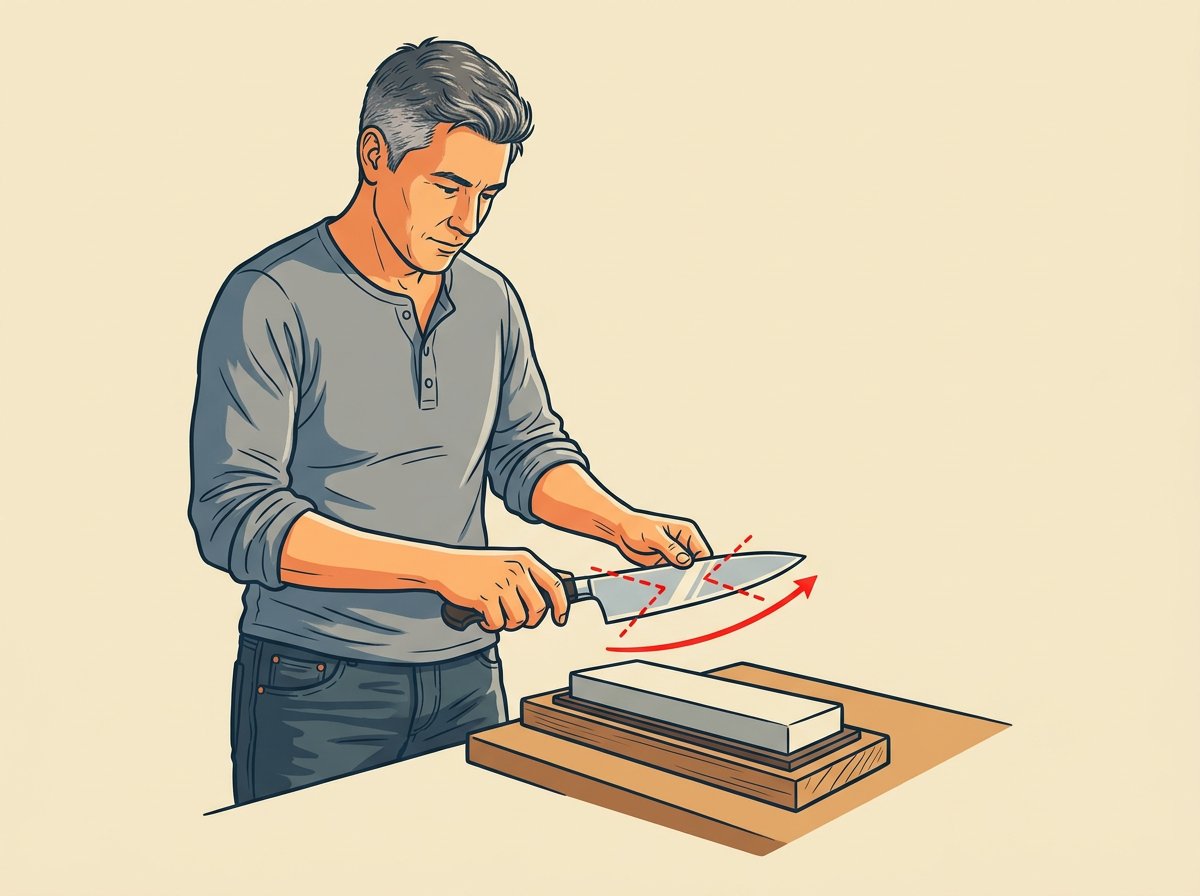
Repeat the same eight to ten passes. The burr should now switch to the first side, proof both faces have met.
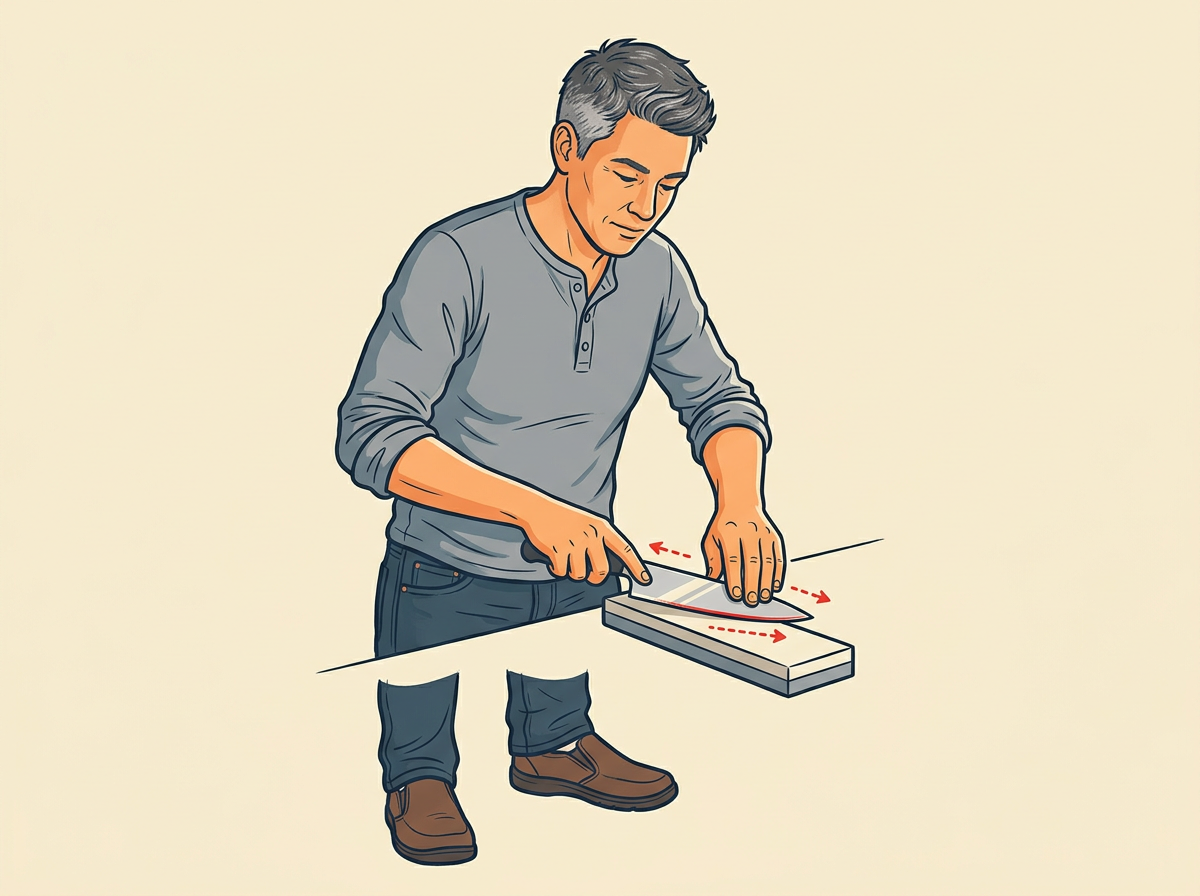
Use two or three strokes per side with almost only the knife’s weight. When neither face catches a burr, stop.
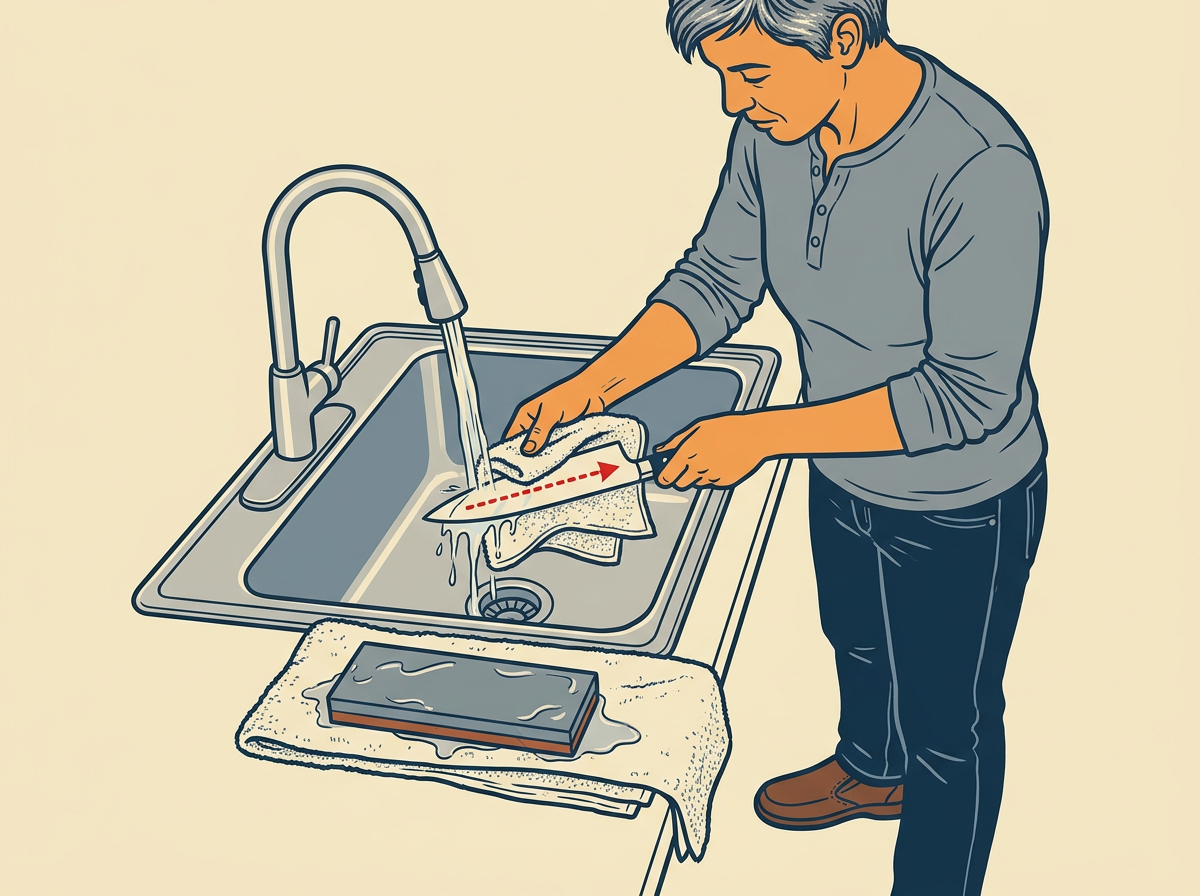
Wipe from spine toward the edge with the towel, never the reverse. A dry blade that parts printer paper or ripe tomato skin without crushing has passed.
The most common mistake
Rolling the wrist mid-stroke changes the angle and leaves a rounded dull edge. Lock elbow height and keep the spine gap even the whole pass.